
As an Amazon Associate, I earn from qualifying purchases.
In this article 4 sections
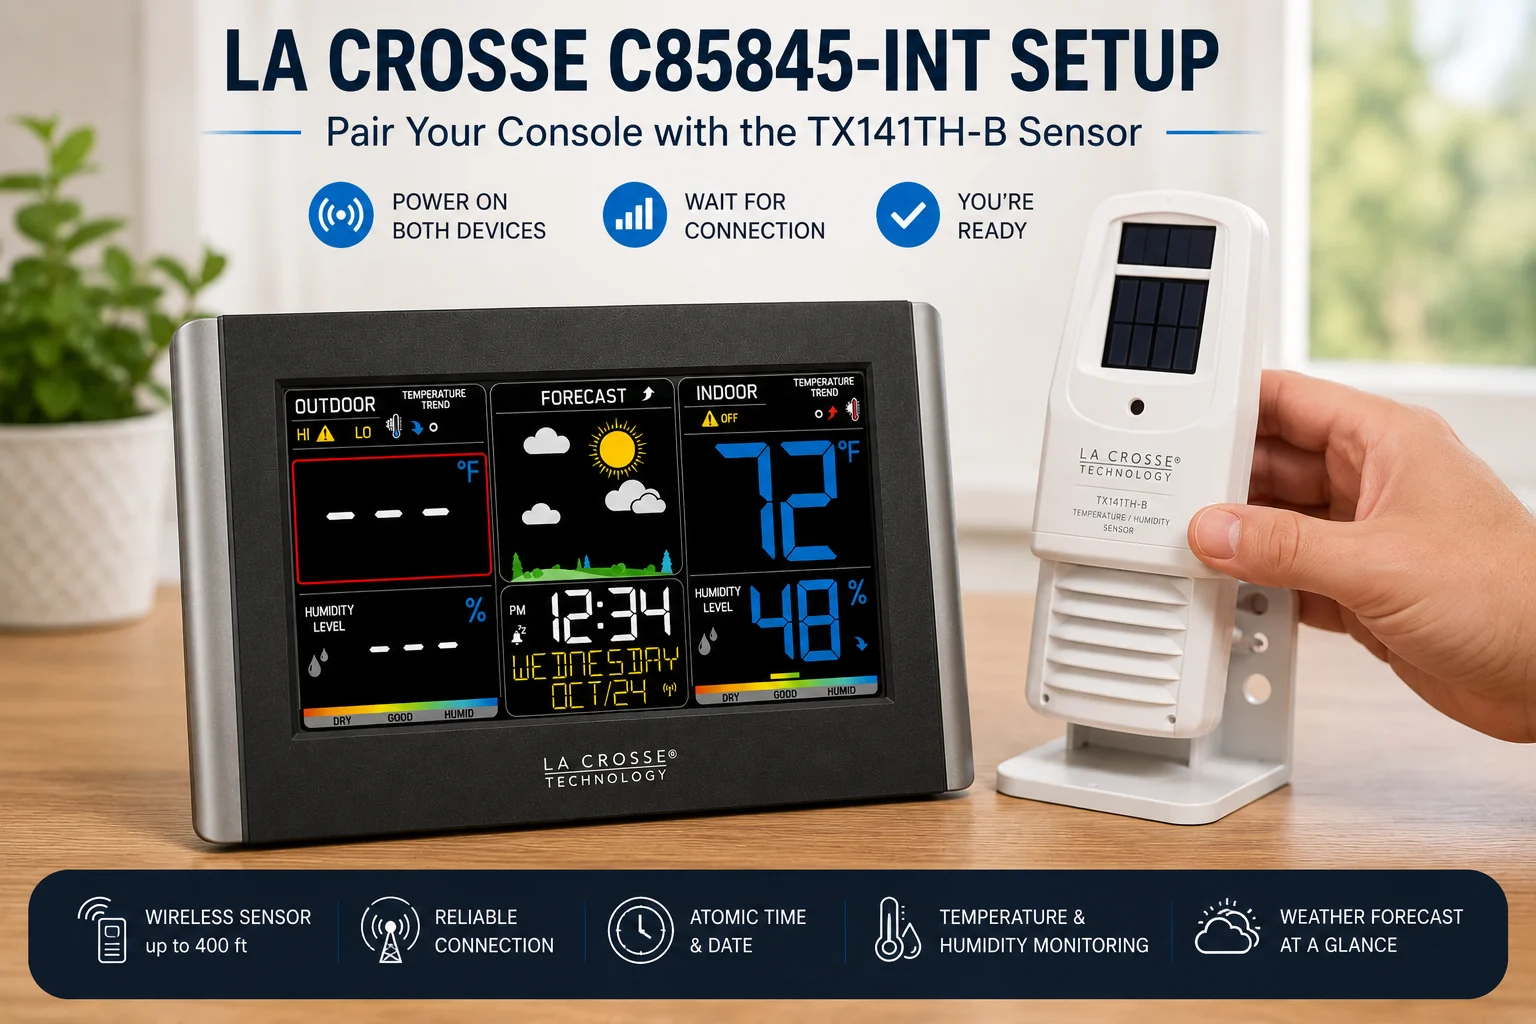
The C85845-INT setup takes around 15 minutes: the most important steps are pairing indoors first and allowing the barometric forecast icons to calibrate over the first week or two.
The C85845-INT is one of the more straightforward stations to set up: there is no Wi-Fi, no app, and no account to create. The display finds the outdoor sensor automatically once both are powered on. The main things to get right are sensor placement and knowing that the barometric forecast icons need time to calibrate before they are reliable.
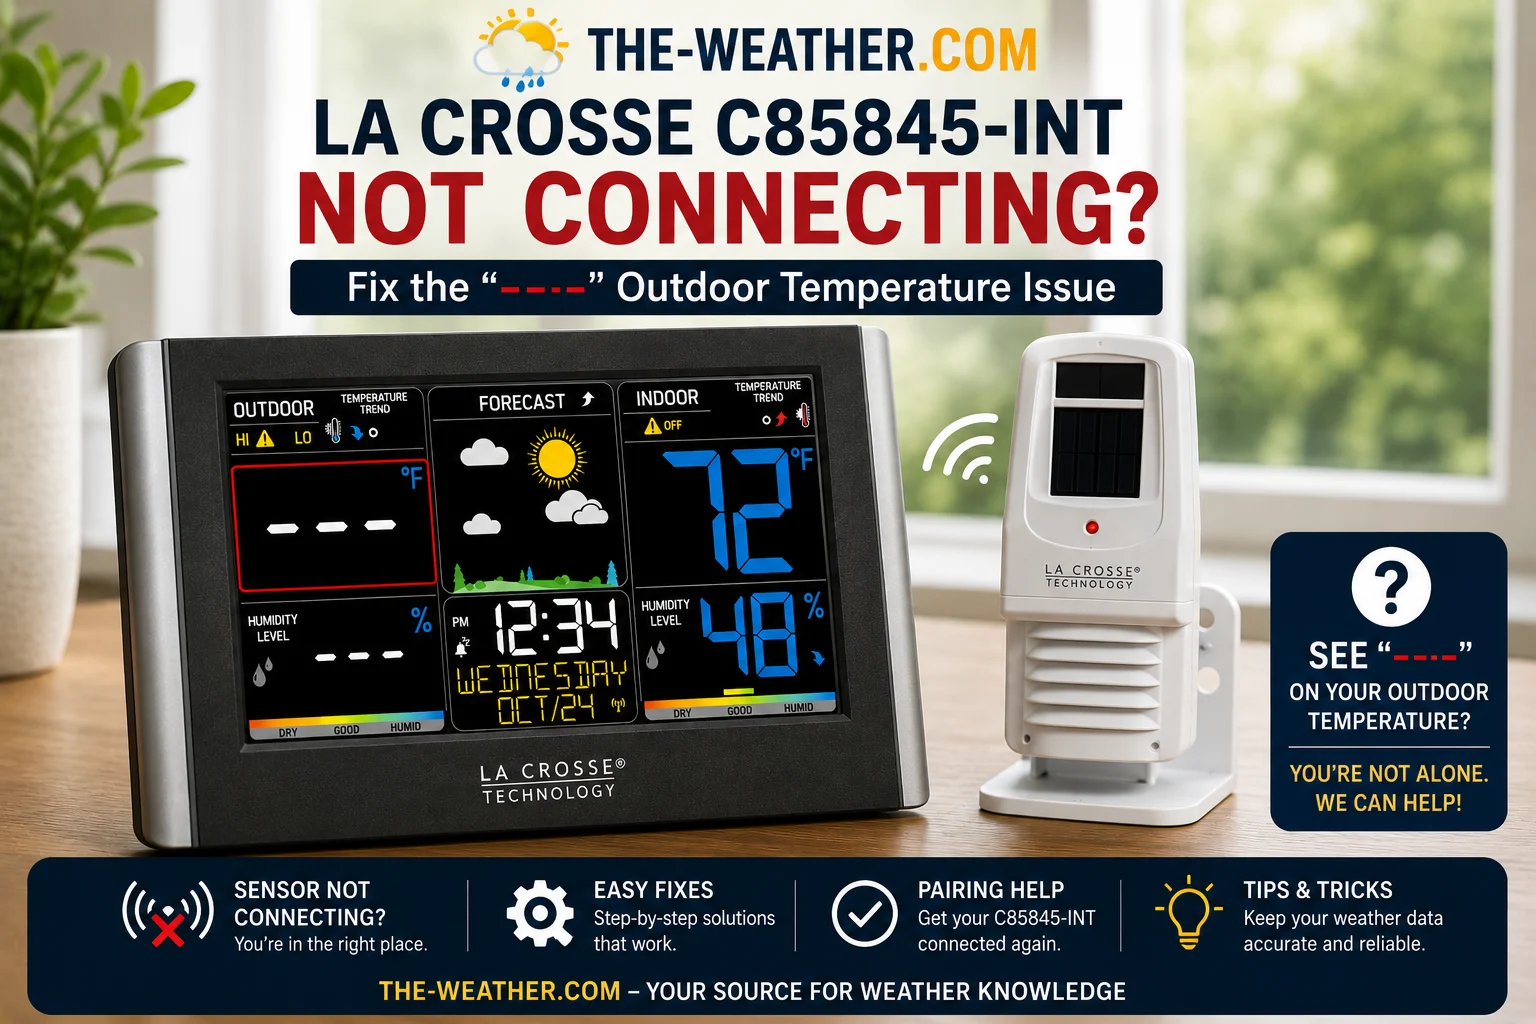
This page covers the complete setup walkthrough from unboxing to first reading. If the outdoor sensor loses connection after setup, see the C85845-INT not connecting fixes page. For the full review and spec list see the C85845-INT review.
What You Need Before Starting
Included in box with AC adapter
Included in box: check channel switch before installing batteries
2× for outdoor sensor · 3× for display backup. Not included: use name-brand alkaline only
AC adapter required for constant backlight: battery-only operation limits brightness
North-facing wall or shaded surface for sensor: identified before mounting
Complete Setup Walkthrough
- Remove the battery cover from the TX141TH-B outdoor sensor
- Locate the channel switch inside the battery compartment: it selects Channel 1, 2, or 3. Leave it on Channel 1 for initial setup unless you have another La Crosse sensor on Channel 1 nearby
- Install two fresh AA alkaline batteries according to the polarity diagram
- The sensor LED should flash approximately every 30 seconds: this confirms it is transmitting
- Replace the battery cover but do not mount the sensor outdoors yet
- Place the display console on a flat surface indoors near a wall outlet
- Install three fresh AA alkaline batteries in the backup battery compartment on the back of the console
- Plug the included 5V AC adapter into the display and into the wall outlet
- The display will illuminate and begin the startup sequence
With both units now powered, place them 5 to 10 feet apart indoors with nothing between them.
- After powering on, the display will automatically search for the outdoor sensor for approximately 3 minutes
- Do not press any buttons during this window: interrupting the search can prevent pairing
- The outdoor temperature and humidity readings will appear in the outdoor section of the display once pairing is complete
- If the readings do not appear after 5 minutes, hold the TEMP button for 3 seconds to start a new search, then press the TX button on the outdoor sensor to send a manual signal
- Press and hold the SET button to enter time zone configuration
- Use the + and - buttons to select your time zone: the C85845-INT supports 7 time zones
- Confirm your DST setting (Auto is recommended for most US locations)
- Press SET again to confirm and exit
The display will then attempt to receive the WWVB atomic time signal broadcast from Fort Collins, Colorado. Reception is strongest overnight and weakest in the late afternoon. Allow up to 24 hours for the time to set automatically.
- Place the display away from computers, televisions, routers, and metal objects
- The display will update the time automatically each night once it has acquired the signal
- If you are outside the WWVB reception area (not in the continental US), you will need to set the time manually
Sensor placement is the single most important factor for accurate temperature readings. Direct sunlight on the sensor housing can increase measured temperatures by several degrees, depending on the amount of solar exposure and surrounding surfaces, even with the radiation shield in place.
- North-facing exterior wall
- Under an eave or overhang, at least 6 inches below
- Shaded by a tree or structure: no direct sun at any time of day
- Vertical orientation, as designed
- Within wireless range of the display
- Away from dryer vents and AC units
- Direct sunlight at any time of day
- South or west-facing walls that absorb afternoon heat
- Near asphalt, concrete, or dark surfaces that radiate heat
- Locations prone to water pooling or submersion
- Near air conditioning units or dryer exhausts
- Against walls with internal heat sources (boilers, ovens)
- Confirm the sensor is still reading on the display before mounting
- Use the included mounting bracket or appropriate outdoor screws
- Mount vertically on the chosen shaded surface
- Carry the display to the mounting location to confirm signal strength before finalising
- Check the display from indoors confirms the outdoor reading is still updating after mounting
Alert configuration
The C85845-INT supports customisable high and low alerts for indoor and outdoor temperature and humidity. To set alerts, use the SET button to access the alert menu: refer to the included quick-start card for the exact button sequence for your firmware version.
| Alert type | What it does |
|---|---|
| Outdoor temp high | Alerts when outdoor temperature exceeds your set threshold |
| Outdoor temp low | Alerts when outdoor temperature drops below your set threshold: useful for frost warnings |
| Indoor temp high/low | Alerts for indoor comfort range exceedances |
| Humidity high/low | Alerts for indoor or outdoor humidity above or below set levels |
Barometric forecast calibration
The forecast icons with trend arrows on the C85845-INT respond to barometric pressure changes relative to your local baseline. On a new unit, the display does not yet have enough pressure history to accurately interpret local patterns: the icons may take several days, and in some locations up to about a week, to become representative of local conditions.
What to Expect After Setup
Once the C85845-INT is fully set up and calibrated, the display shows the following simultaneously:
- Outdoor temperature and humidity: updated on each sensor transmission cycle (approximately every 30 to 60 seconds)
- Indoor temperature and humidity: measured by the console itself
- Heat index: calculated from outdoor temperature and humidity when conditions meet the threshold
- Dew point: calculated and displayed alongside outdoor humidity
- Comfort level bars: colour-coded indicators for indoor and outdoor humidity comfort
- Barometric forecast icons, with trend arrows indicating pressure direction (reliable after several days of local pressure history)
- Daily hi/lo records: automatically reset each day at midnight
- Atomic time and date: self-setting via WWVB, auto DST adjustment
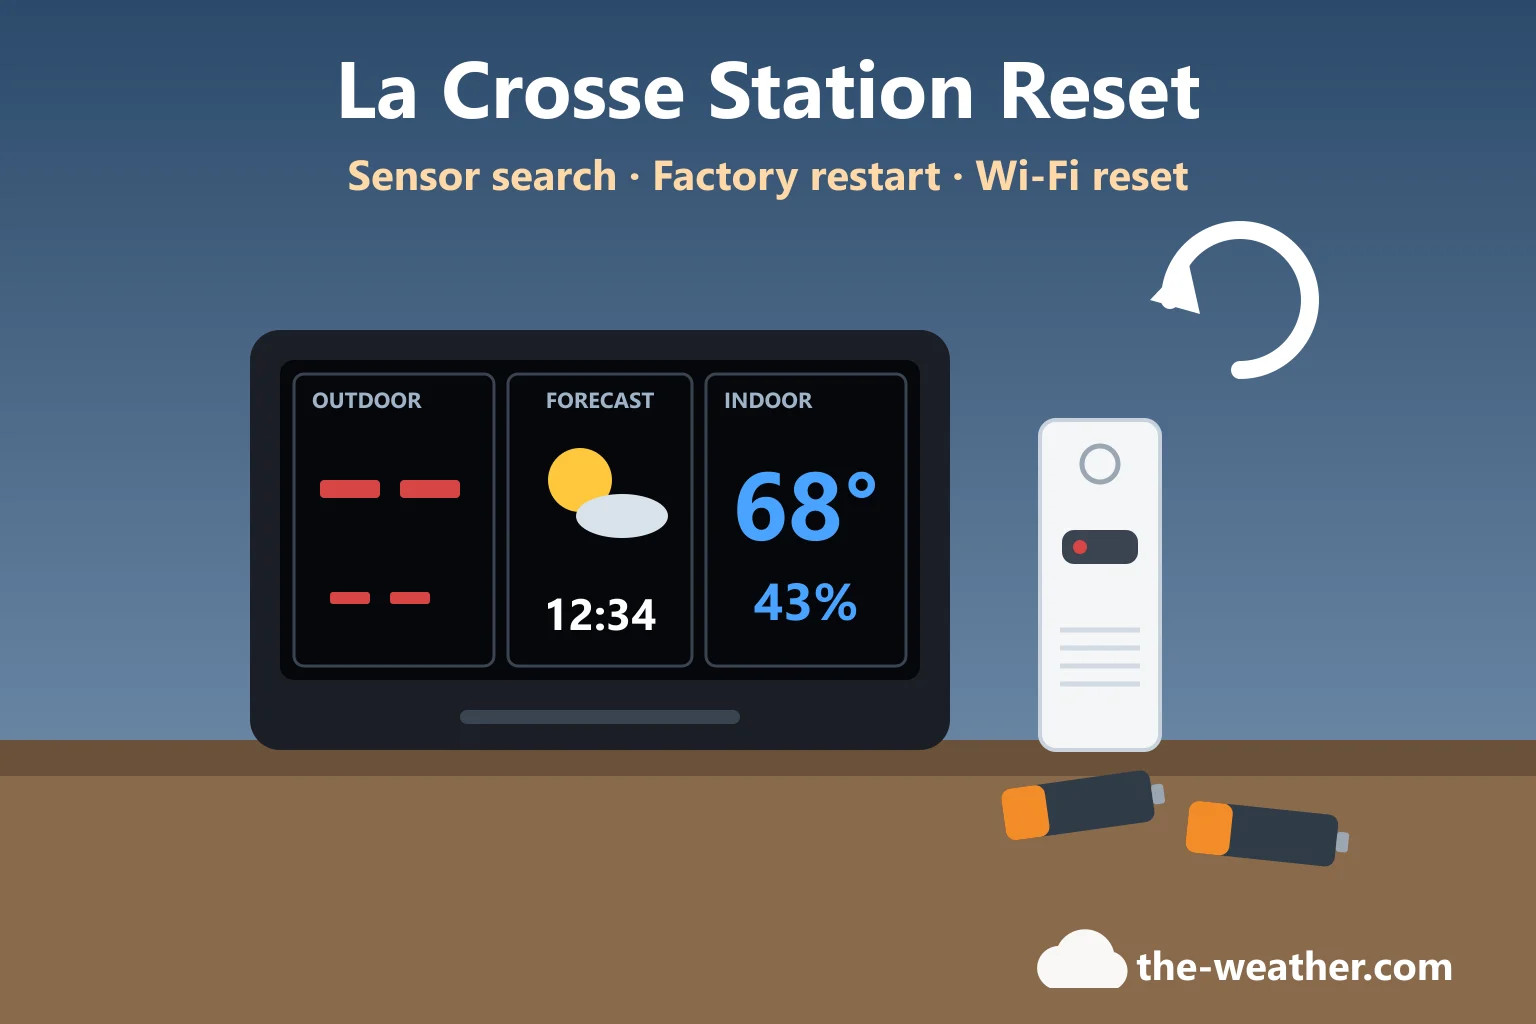
Outdoor reading turned into dashes later on? Our La Crosse reset guide covers the C85845 sensor search and factory restart, step by step from La Crosse's manuals.
Frequently Asked Questions
How do I pair the La Crosse C85845-INT outdoor sensor?
Install batteries in the outdoor sensor first, then restore power to the display. Place both units 5 to 10 feet apart indoors and do not press any buttons for 3 to 5 minutes: the display searches for the sensor automatically. If the outdoor reading does not appear, hold the TEMP button for 3 seconds to restart the search, then press the TX button on the sensor.
How long does the C85845-INT barometric forecast take to calibrate?
The barometric forecast icons may take several days, and in some locations up to about a week, to become representative of local conditions. During this initial period the icons may not accurately reflect local weather. Allow sufficient time before evaluating forecast accuracy.
Where should I mount the La Crosse C85845-INT outdoor sensor?
Mount the TX141TH-B sensor on a north-facing wall or shaded surface, vertically, at least 6 inches below an eave or overhang. Avoid direct sunlight, heat-radiating surfaces, and locations prone to water pooling. Accurate temperature readings depend heavily on correct placement, even a radiation shield cannot fully compensate for poor location.
Why is the La Crosse C85845-INT not showing atomic time?
The C85845-INT receives the WWVB signal from Fort Collins, Colorado: reception is strongest overnight away from electronics and metal objects. Allow up to 24 hours after initial setup. Place the display away from computers, televisions, and metal surfaces. If signal is not acquired after 24 hours, try relocating the display to a different area of the room.
Related La Crosse pages
Community Feedback
Our tip: power the sensor before the display and keep both units close together during the first pairing, and remember that the forecast icons need the barometric calibration period before they are reliable. All steps on this page are sourced from La Crosse Technology's official documentation.

Lena Thornton
Weather Station Analyst & CWOP Contributor. Lena researched, reviewed and analysed C85845-INT setup procedures using La Crosse Technology's official documentation. Updated July 2026.